
Traces of yesterday’s experiments frame space for today’s exploration.
CREATIVE JUMPSTARTS
Thanks for stopping by! Emily here. As the poet/artist behind Wild Honey Words, I’m passionate about bringing poetry into everyday life and bringing everyday life into poetry. I hope what you discover in this space brings you a splash of light—inspiration, joy, validation, comfort, or connection—and helps you express yourself more fully.
On this page, I’ll be offering writing and art prompts, aka Creative Jumpstarts. Consider this your playground! Want to know when I add something new here to get your juices flowing? Subscribe to Wild Honey Wordbuzz to stay in the loop. I'll also share my own writing, give you sneak peeks into my artist process, and send you updates on my latest offerings.
Writing Prompt:
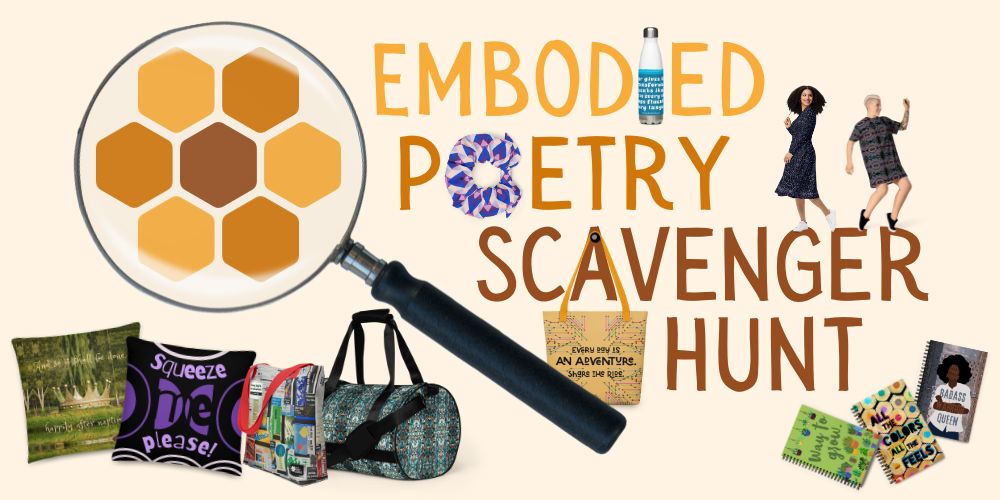
EMBODIED POETRY SCAVENGER HUNT
Here’s an exploration in cross-pollination that I’ve designed to engage both your mind and your body by incorporating movement in different ways. Feel free to try this with someone else, virtually or in person.
TIME FRAME: 30 minutes* to an afternoon, depending on your personal process and preferred pace. If you like the challenge of a time boundary, you can set a timer—or it can be a more leisurely scavenger hunt. There's no wrong way to make a poem!
*Suggestions for 30-Minute Version:
10 min. for Steps 1-2
5 min. for Step 3
15 min. for Step 4
1. Pick one of these three sets of words:
Option 1
Ready / Blue / City / Cotton / Flow
Option 2
Renew / Texture / Building / Gift / Transport
Option 3
Rest / Mirror / Grow / Smooth / Zipper
2. List the five words you've chosen and look for each of them hidden somewhere on the Wild Honey Words website. (All appear more than once.) Feel free to use the Search bar in the bottom menu or to wander free-range. The first time you come across each of your words, choose one word (verb, adjective, or noun) from the page where you found your word and add it to your original list. Aim for unlikely pairs—two words per page that you wouldn’t normally associate with each other. You’ll end up with ten words total.
3. Invent a dance move for each of your ten words. (Yes, really.) If you feel awkward or resistant to this idea, take a deep breath and go for it anyway! Do what your mobility today allows you to do comfortably. Your movements can be huge and sweeping or tiny and subtle, focusing on one part of your body. Either way, notice how your body wants to move; it doesn’t matter how you think you might look.
4. Now that you’re loosened up and more connected to your physical self, write a poem that includes all ten words you’ve gathered. Weave in sensory details (smells, tastes, textures, sounds, visuals) and other lived/felt experiences of being in a human body. If writing longhand is an option available to you instead of typing, write on paper—it changes the way you connect with words. You can type a clean copy later; for now, let your process be messy and organic. Enjoy!
Art and/or Writing Prompt:
PIECES OF THE PAST REMIX
Practice approaching everyday life with a creative mindset and discover the potential to repurpose, reimagine, and upcycle all kinds of things you already have on hand.
TIME FRAME: 5 to 30+ minutes
1. Choose one or more item(s) in your home/office/garage that you're ready to let go of. Mine your recycling bin, junk drawer, or that pile of stuff that (let's be honest) won't be fixed.
Examples of materials:
- product packaging
- old holiday greeting cards
- used gift cards
- expired coupons
- wrapping paper
- fabric item too worn to donate
- clothing tags & labels
- bottle caps & soda/pop tabs
- broken parts
- paint chips (color samples)
2. Cut up or break apart the item(s) however you like. Let randomness guide you or intentionally include or avoid certain parts that strike you as more/less appealing or meaningful.
3. Rerearrange the pieces in a way that's interesting to you. If you've cut out any words or phrases, you can make a "found poem" out of them. And if you'd rather stick to images, colors, patterns, or shapes, that's great, too. (Personally, I like mixing All the Things—words, visual elements, and textures.)
4. Attach the pieces to paper/cardboard or another surface (if you want to keep/give away/sell what you've made), or simply take a photo of the arrangement then recycle the materials. Either way, you've given them new life!
Bonus: Did you notice any unexpected connections or themes emerging from the pieces you put together? If you're inspired to, write a short reflection on one of these themes or a connection you made.
Writing Prompts: 3 QUICK JUMPSTARTS
TIME FRAME: 1 to 5+ minutes each
Quick Prompt #1
Choose one of the following words as a starting point for freewriting:
- pose / posing
- turn / turning
- stir / stirring
- forget / forgotten

Quick Prompt #2
Fill in the blanks and see where one of these sentences takes you.
A:
I may not be the most ----------------,
but I sure know how to ---------------.
B:
All I need is ----------------
to -------------------------.
C:
I didn't know how ------------ I was/am
until ----------------------------------.

Quick Prompt #3
Write about a time things turned out differently than you hoped or expected.
→ How did you feel at the time?
→ How might you look at the experience (and what came out of it) from another angle now?

Art Prompt:
PAPERMAKING MEDITATION AS REINVENTION
This can be an especially meaningful practice if you choose to work with old paper materials that are tied to personal experiences you want to process, let go of, or reframe. Think: past jobs, relationships, living situations, medical or financial challenges, etc. (Just be sure to keep or digitize and back up any records you may need to refer to in the future.)
The beauty of papermaking is the hands-on process. While you're physically interacting with the materials, notice the memories that come up and consider how you're making something new and beautiful out of those parts of your past.
You may want to play some meditative music or incorporate prayer, mantras, or intention setting.
TIME FRAME: 30 minutes to an afternoon (not including long-soaking or drying time)
There are multiple ways to make your own paper, but here's my bootstrap version:
You'll need:
- paper materials
- water (heating device optional)
- blender, if you have one (easier and more effective method, but not absolutely essential)
- shallow container/flat surface
- new sponge or clean rags
- cooling rack, if you have one (no worries if not)
1. Gather paper materials you're ready to recycle, then tear, cut, or shred them into small pieces.
Examples:
- old notes, letters, tickets, or receipts
- shredded documents
- envelopes, packaging, or gift wrap
*Hint: To spice up the mix, include some colorful materials. For more creative ideas, check out this blog post to learn what I've used in my own papermaking.
2. Soak the paper pieces in hot water. With thicker materials especially, you may want to leave them to soak for a few hours or overnight so the fibers have time to break down.
3. Partially fill a blender with the wet paper mixture. Usually, between 1 or 2 parts water to 1 part paper is a good ratio. (Be mindful of the "max fill" line on the blender.) Alternatively, if you don't have access to a blender, you can re-tear the soaked pieces by hand to make them even smaller. The finished texture won't be as smooth and fine, but it'll preserve a lot of the interesting details in the original materials. Blend on a low setting, in short bursts of a few seconds to avoiding overtaxing the motor. (If it looks or sounds like the blades are struggling to turn at all, power off the blender immediately, shake the mixture, and add more water before restarting.)
4. Prepare your counter space. It's going to get messy, so be sure to clear away anything you don't want to get wet and have some towels or rags handy. Lay out a shallow container with a flat bottom surface such as a plastic tray, large Tupperware lid, or glass casserole dish. I used the cover from a 16 oz. box of salad greens. Line the container with a used dryer sheet or a thin piece of fabric, such as a rectangle cut from an old t-shirt. Smooth out any wrinkles.
5. Pour the blended paper pulp onto the dryer sheet/fabric and spread it evenly with your fingers. Place a second dryer sheet or fabric rectangle on top. Remove excess water. I find the easiest way is to press the top layer with a sponge repeatedly and keep squeezing it out into the sink or a bowl. (If you don't have a new sponge, you can use a clean cloth rag.)
6. Carefully transfer the wet paper (still sandwiched between dryer sheets/fabric) to a horizontal surface such as a metal cooling rack (usually used for baking) where it can air-dry undisturbed. Placement in the sun can help speed up the drying process. The paper may start to bend and bubble up as it dries. Flatten the dried paper overnight by pressing it between heavy, horizontal surfaces, such as two hardcover books. (To avoid damaging book covers, be sure your paper is fully dry first and/or sandwich it between paper towels.) You may need to repeat this step after letting it air-dry further.
I'd love to see what you create! @wildhoneywords.shop Create wherever you go with unique journals from Wild Honey Words!
Featuring original cover art with motivating messages, our hardcover lined journals have ribbon bookmarks, elastic closures, and pockets for notes and keepsakes while our spiral-bound journals' versatile dotted pages are great for thought mapping, sketching, and collaging as well as writing.